

★
⋆
✦
✶
✷
A GUIDE BY CLOUD-13
✹
This is a general guide on how to take photos of stars with a phone camera! With this technique, you also should be able to take general long exposure photos with this. This is a WIP guide, so don't expect it to be profesisonal!
Obviously, you should have a camera that comes with every phone nowadays. You should be able to get decent photos even on older models, since you don't have to have the best and newest specifications on your camera for this to work.
Actually, you don't even need a phone stand! This method involves making your camera very still for ~10 seconds or more, so even if you don't have a phone stand, you could literally prop it against something or just set a timer and place your phone on the ground.
You will also need good conditions in order to photograph anything in space. How much clouds you will have on a certain night can be checked in most weather apps (the clearer the sky, the better), and having a very dark and remote place will get you the clearest photos. You can even take photos of the galaxy if you time it right. Of course, even if you are in the city, as long as you are not in the city center, you should still be able to see the brightest of stars in the night sky.
I reccomend installing an app called "Stellarium" on your phone before taking photos. It will tell you the cloud conditions of the day, there are features to be able to easily identify stars and constellations, you can preview what stars will be where at what time, etc. It's generall just a good app if you want to go stargazing.
If you want to edit these photos professionally, you can go into settings to turn saving photos as RAW files as on. RAW files are literally that; from all i know it is basically literally all the information the camera gathered when taking the photo, so any details that have been automatically blurred out (i.e. potential stars) won't be. Be careful though, these file sizes are much larger than normal png's.
(For apple phones, they don't have a dedicated, built in pro mode, so you may have to mess around with camera apps and such)
If you open up your camera and press more, there should be a pro mode that you can enter. It might look a little bit complicated if you are doing this for the first time, however the only things you want to change are the focus, shutter speed and ISO.
The focus is just literally that; what the camera itself is focusing on. Putting the focus on auto is generally good.
The ISO is just how light or dark the photo is.
The shutter speed is adjusting how long the camera sees light. I'm not very good at explaining, but it can be visuallised as stacking individual photos on top of each other.
1. Generally, you want the ISO to be the lowest possible (usually 50) and the focus on auto. Set the shutter speed to 5, and if you don't have a phone stand, I reccomend you to set a timer for ~5 seconds for you to position your phone safely to the ground, etc.
2. Take the photo. You should be able to identify problems with it such as the photo itself being too dark (adjust the shutter speed or ISO), shaking (find a more stable surface to put it on, not being in focus (you can manually adjust the focus so that the thing you want to photograph has a green outline, but it is tricky imo.)
3. Take more, adjusting your settings. make sure minimal light from other sources are present when you take your photos, as even just a flashlight can ruin it.
4. Enjoy?!?!
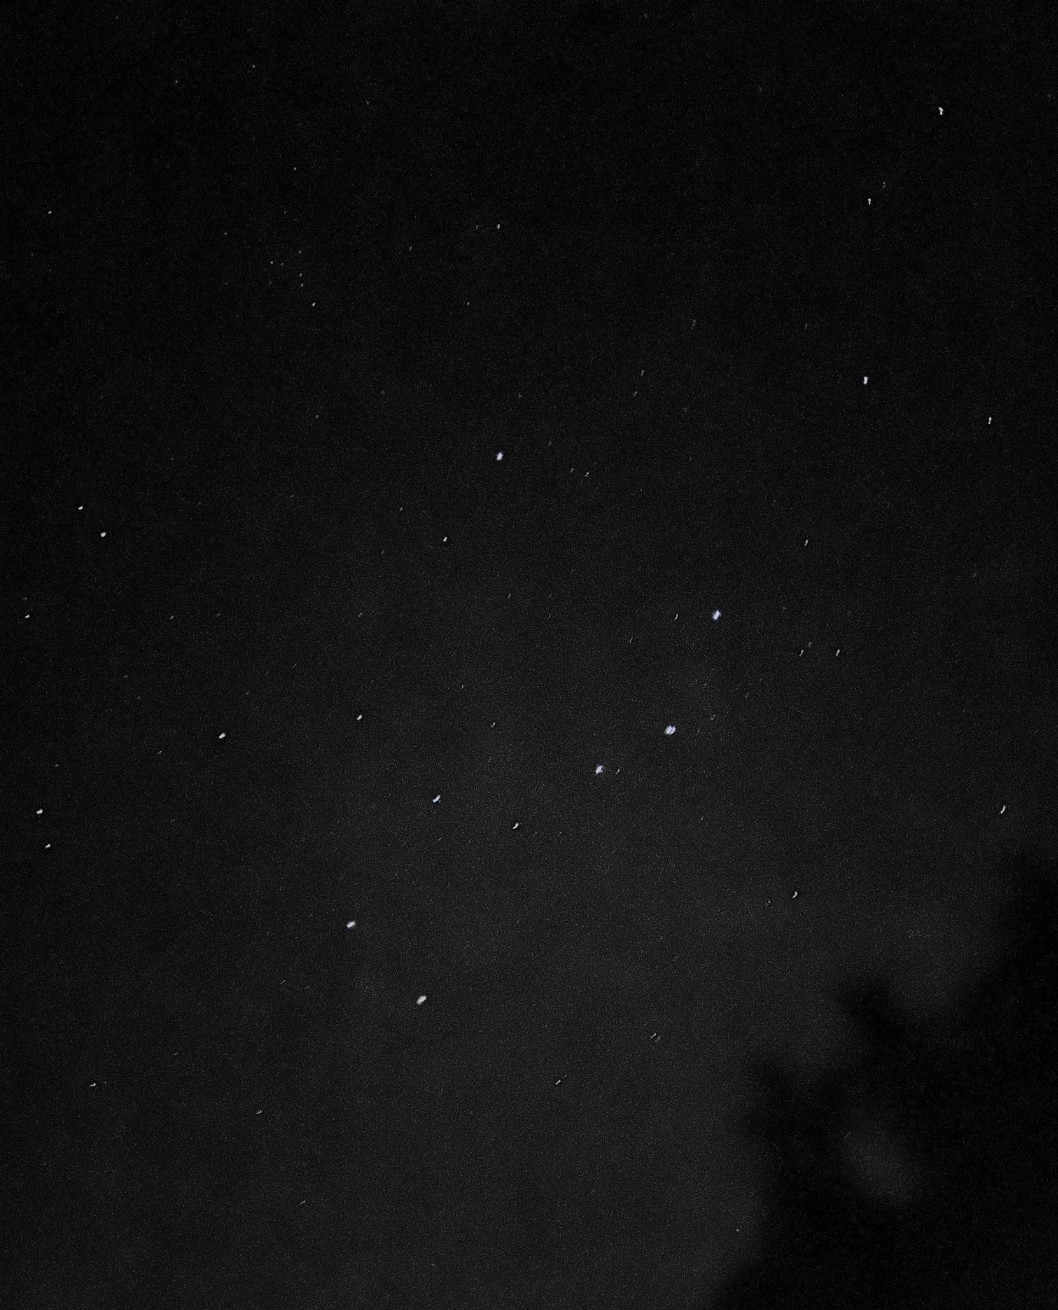
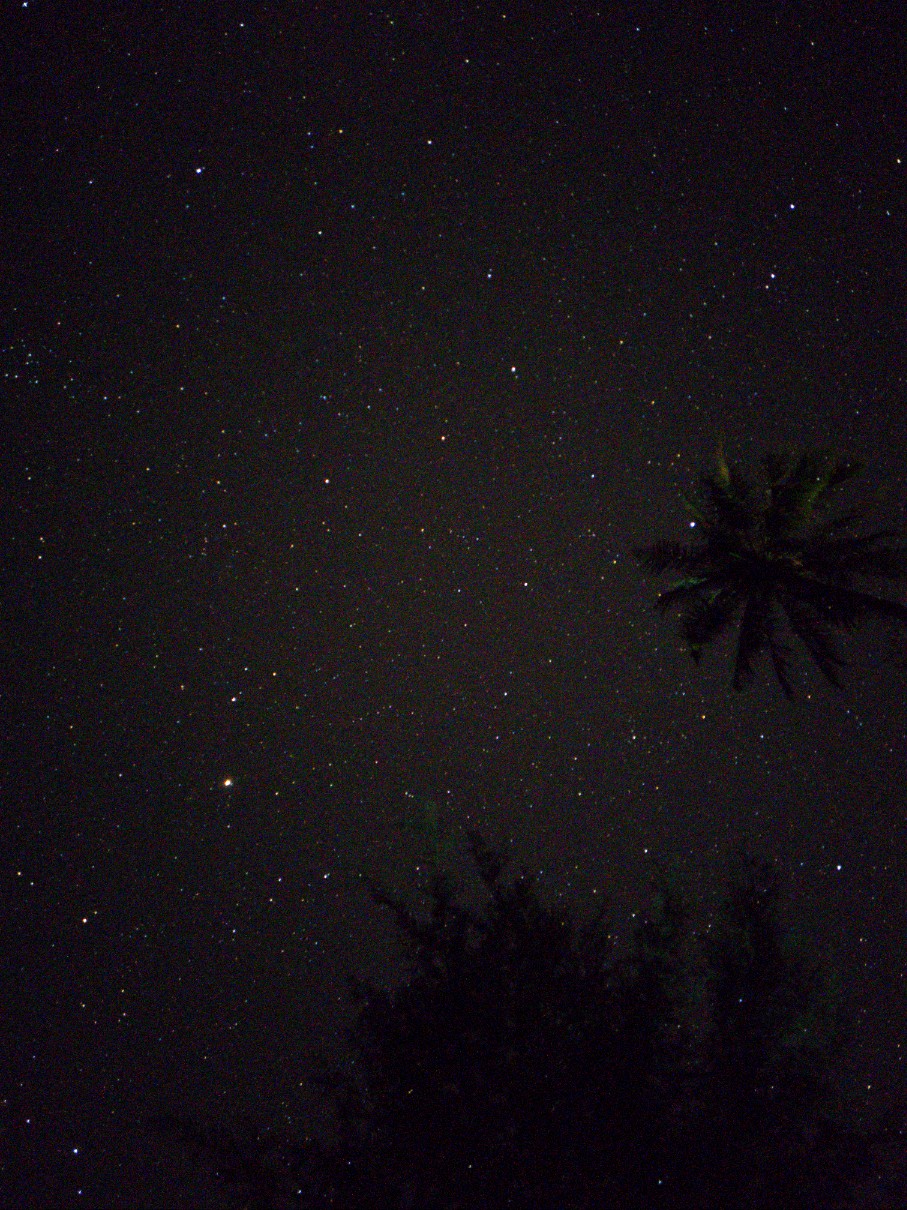
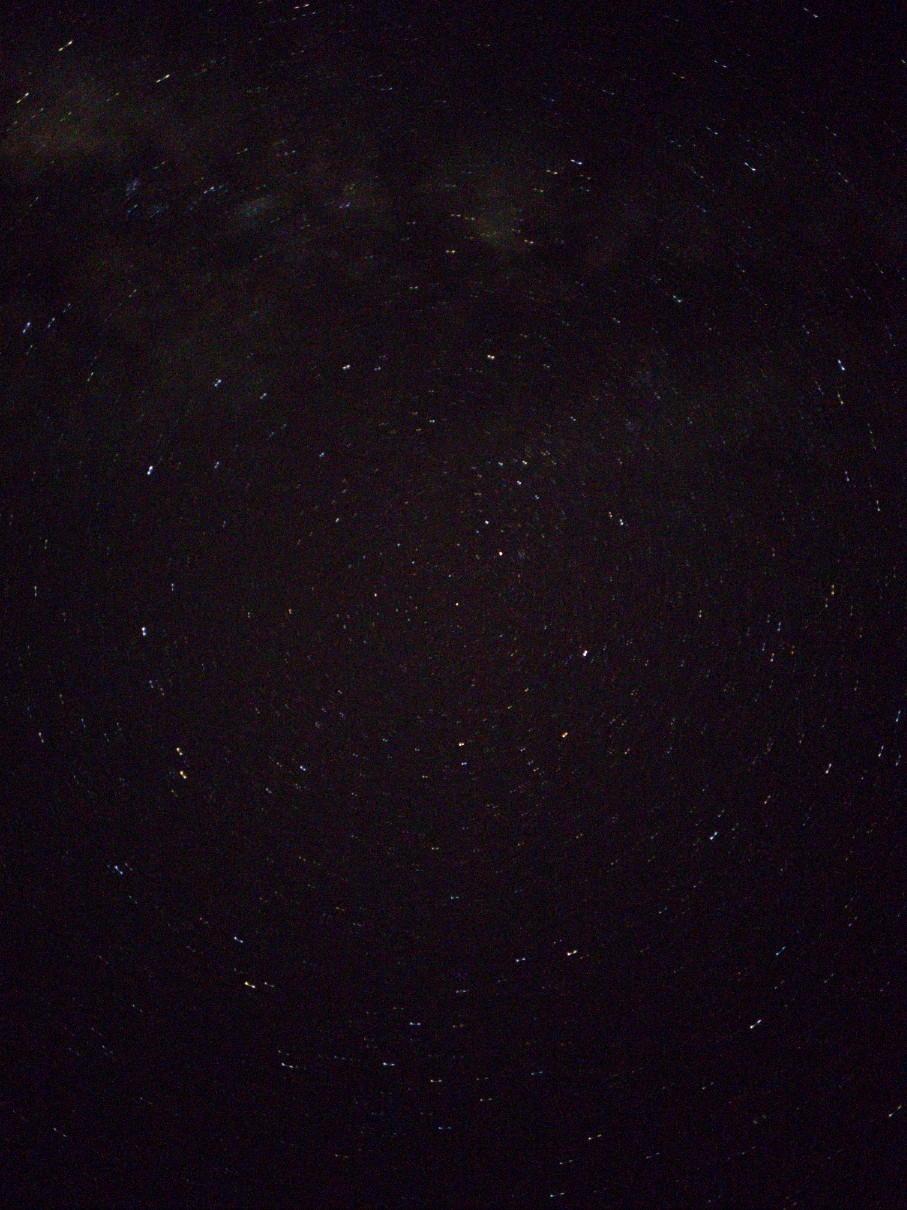
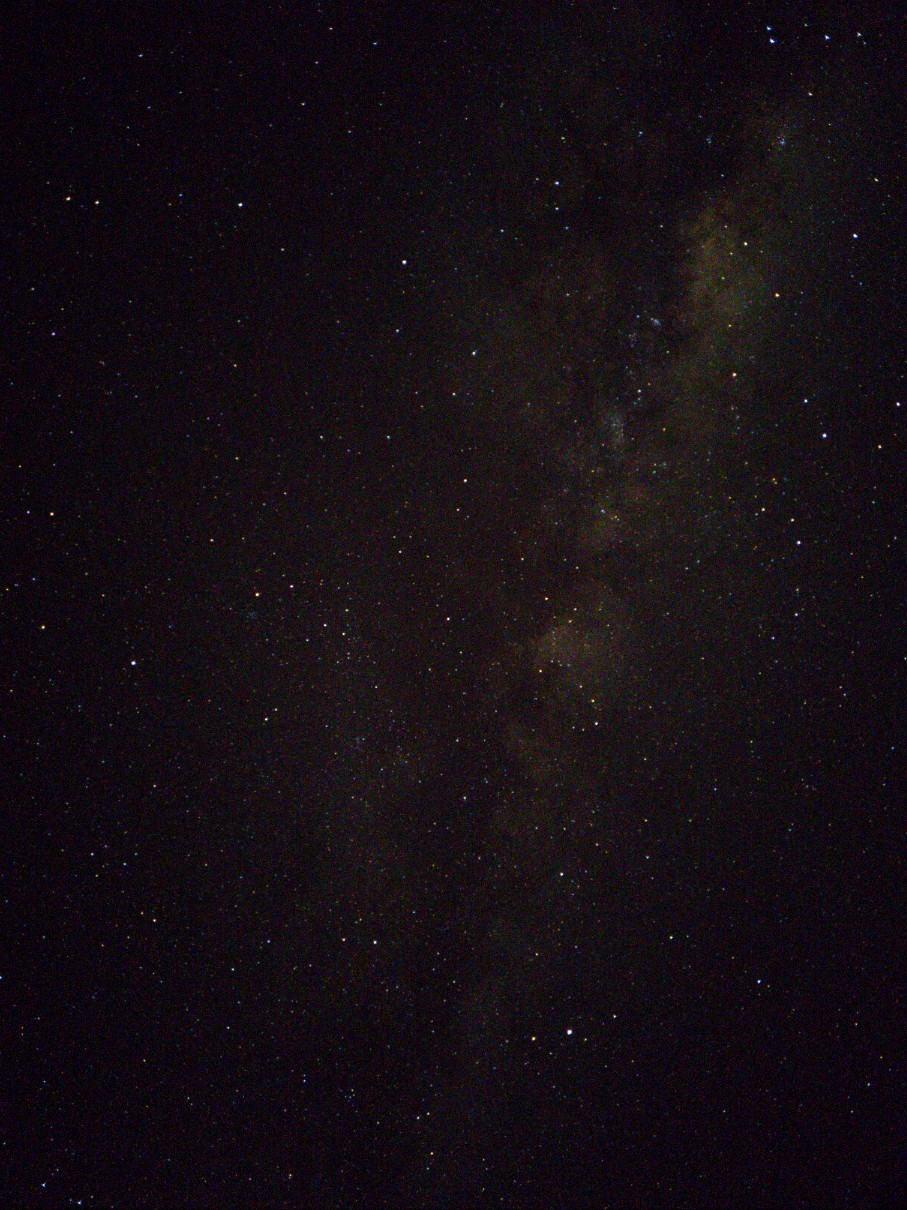
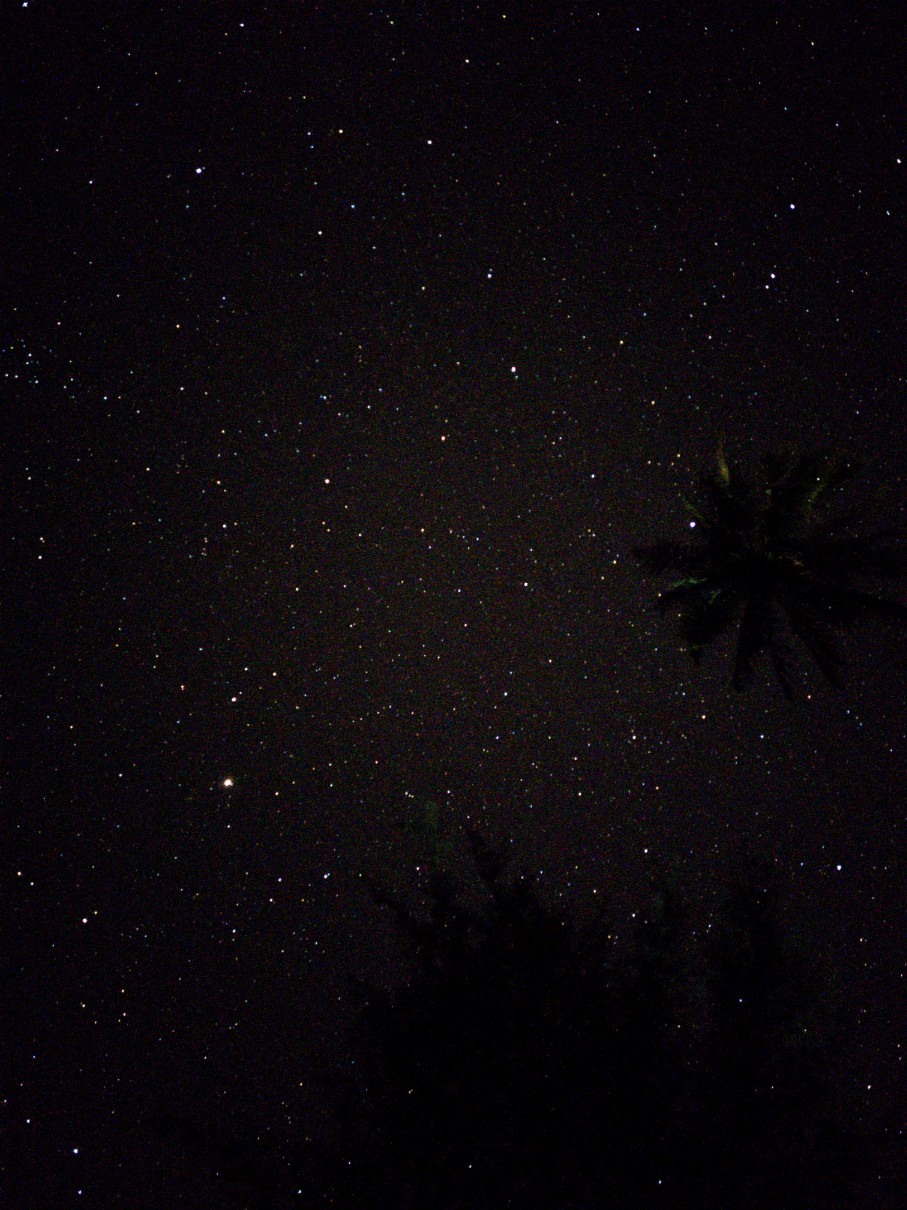
The first few ones were taken at Pulau Tioman when I was on a school trip. Most of these were taken from ~3am to 5am. (brighten your screen to see a lot of the detail)